Hello World in Yocto
Introduction
Yocto is a way to role your own Linux distribution, with a focus on embedded systems. This page will get you up and running!
Requirements
- 50 GB of disk space
- A supported distribution (If using Arch, follow the Arch Wiki article)
- These packages installed:
gawk wget git diffstat unzip texinfo gcc build-essential chrpath socat cpio python3 python3-pip python3-pexpect xz-utils debianutils iputils-ping python3-git python3-jinja2 libegl1-mesa libsdl1.2-dev pylint3 xterm python3-subunit mesa-common-dev zstd liblz4-tool - A semi-powerful computer. If you’re doing this on a Chromebook, you’re going to have a bad time.
Setup
We will be following the documentation at [https://docs.yoctoproject.org] today.
Let’s clone the repo, first of all.
The branches of the repo are all releases. We’re going to check out the kirkstone branch, since that is the most recent release at the time of this writing.
The basic workflow works like this:
Notice that when you source oe-init-build-env it also puts you in the build directory. If your build directory didn’t exist before, now it does, along with some important files in the conf directory.
The official docs suggest uncommenting these lines in the conf/local.conf file in your build directory:
BB_SIGNATURE_HANDLER = "OEEquivHash"
BB_HASHSERVE = "auto"
BB_HASHSERVE_UPSTREAM = "typhoon.yocto.io:8687"
SSTATE_MIRRORS ?= "file://.* https://sstate.yoctoproject.org/all/PATH;downloadfilename=PATH"
Uncommenting those lines lets Yocto download pre-built OS bits instead of building them yourself. It’s way faster! I did that and I was able to have a build going in 4-5 minutes.
Hello World in Yocto
Alright, this is it. Let’s build an operating system and emulate it with QEMU.
In your build directory, run:
You’ll see lots of spinny things happen, and then it will finish. If you’ve chosen to download over build it won’t take long, depending on the speed of your network connection.
Let’s run this sucker.
You’ll see it boot, and wonder of wonder, miracle of miracles:

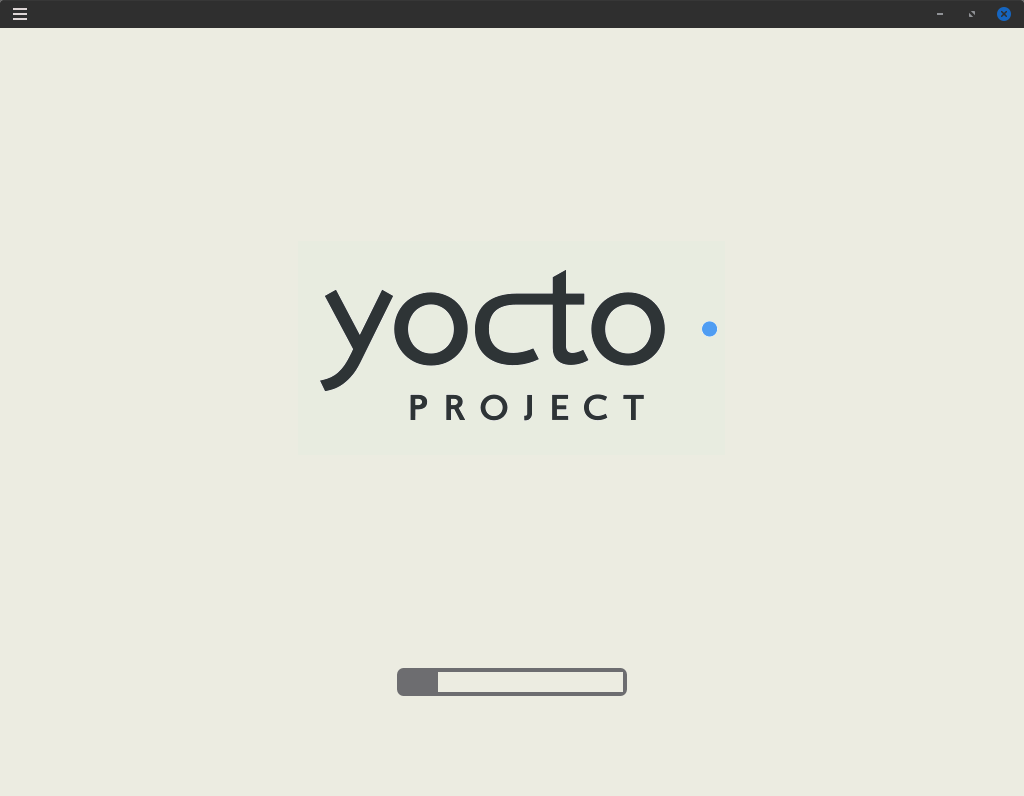
A boot screen!
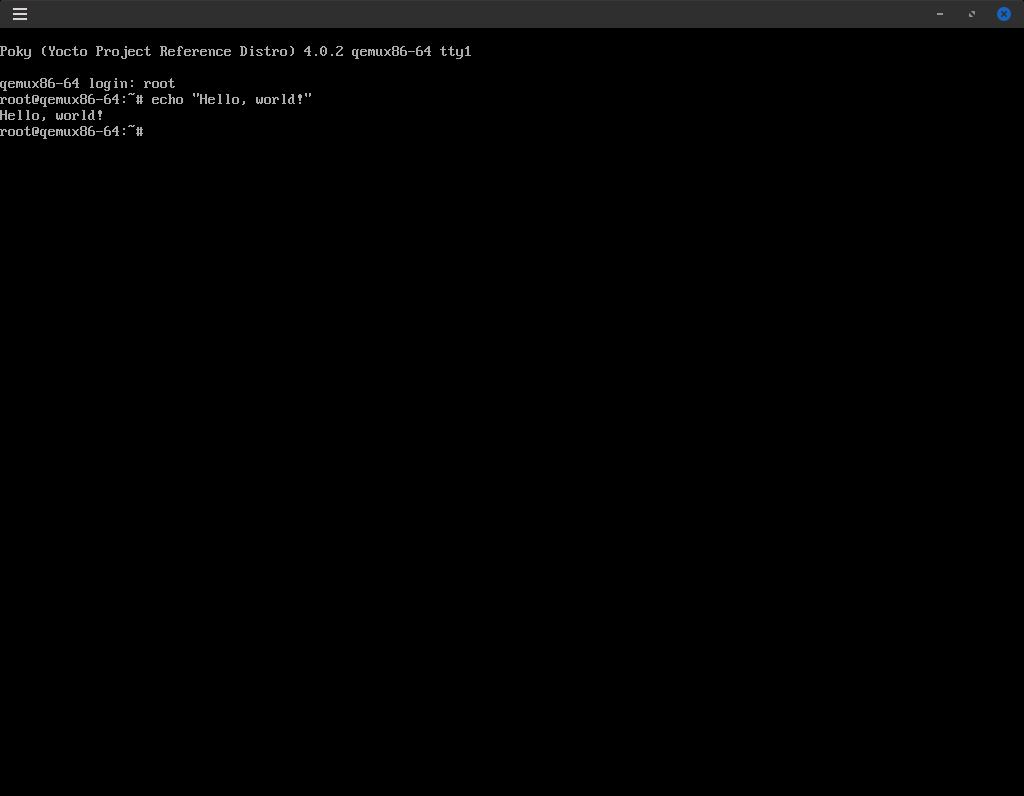
Login with the username root (no password) and you’re set! You just made your own operating system (ish)!
Now for the moment we’ve all been waiting for.
